0 .Log-in
*If unregistered, new account can be made at the website where the program was downloaded.
1.Standard View
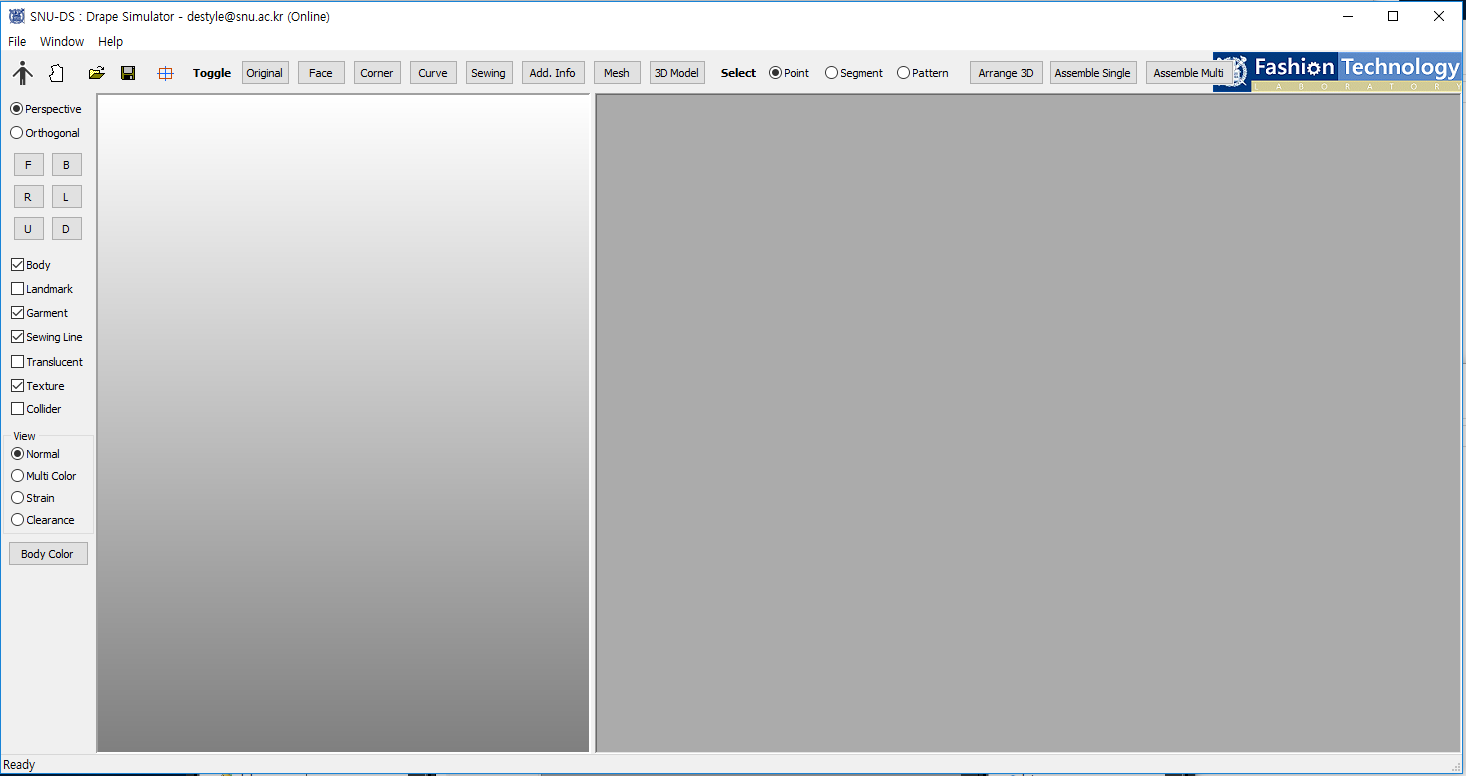
2. Loading Body and Pattern
![]()
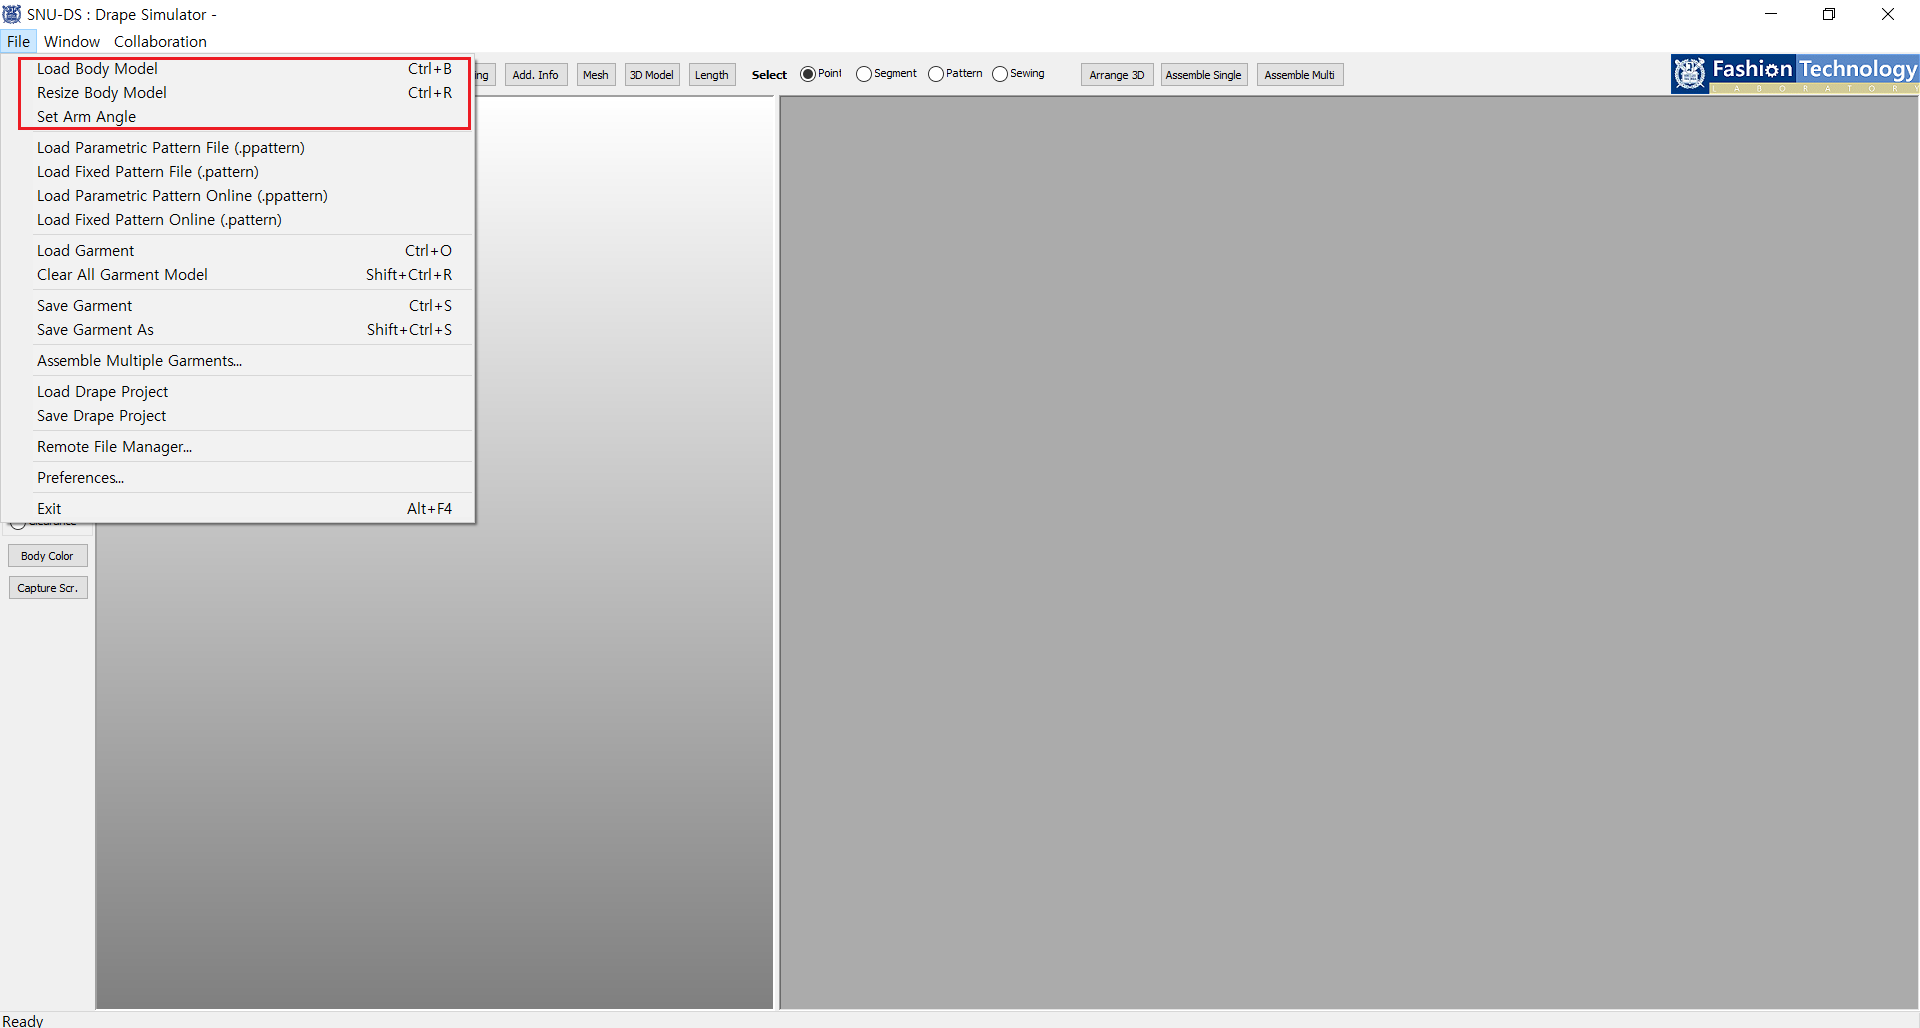
Click Buttons at the top left corner of the program or the File Menu to Load Body Model and Garment Pattern.
User can either use the patterns provided by the system or on their own.
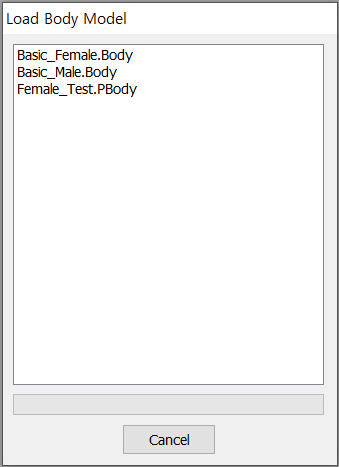
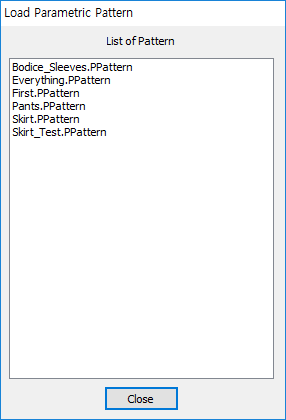
Pop up will be shown, and the user simply needs to double click the body type and the pattern type that he/she wants to use.
2-1 Body View
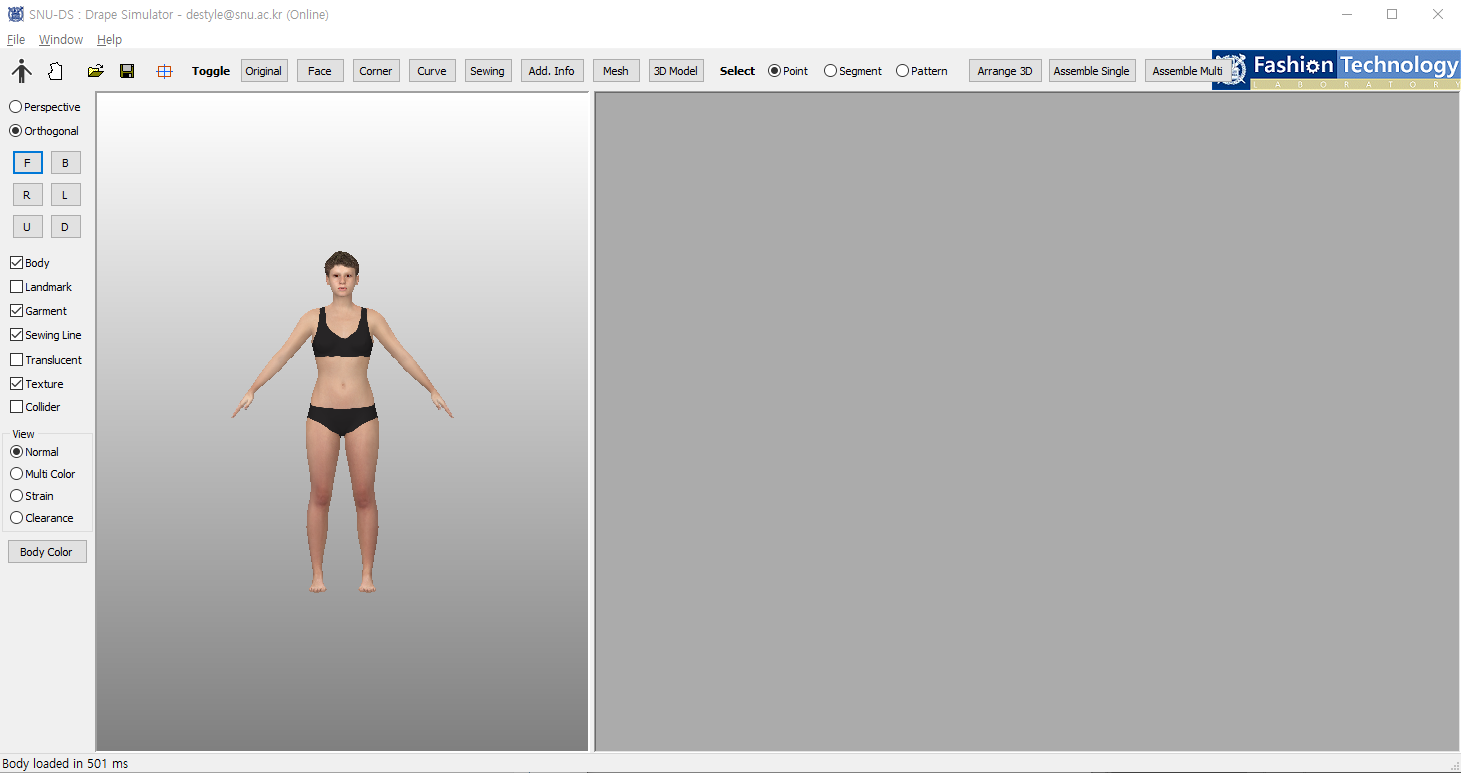
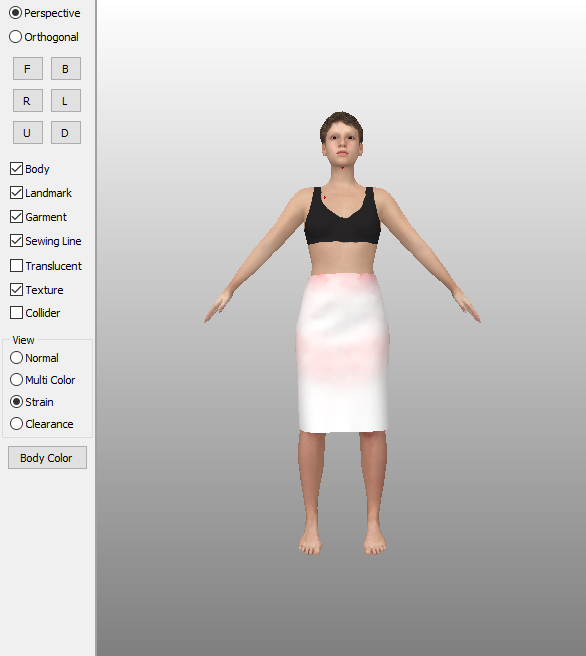
This is the view after the female body was succesfully loaded.
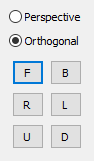
Using the radio button at the top left side of the program, user can change the body view to either perspective or orthogonal.
Just same as the radio button button, user can instantly change the current view by pressing square buttons F,B,R,L,U and D, which signifies front,back,right,left up, and down view.


The body model can also be rotated using the mouse. The model rotates while pressing the left button of the mouse following the direction of it and zooms in and out while pressing the right button and dragging the mouse down and up.
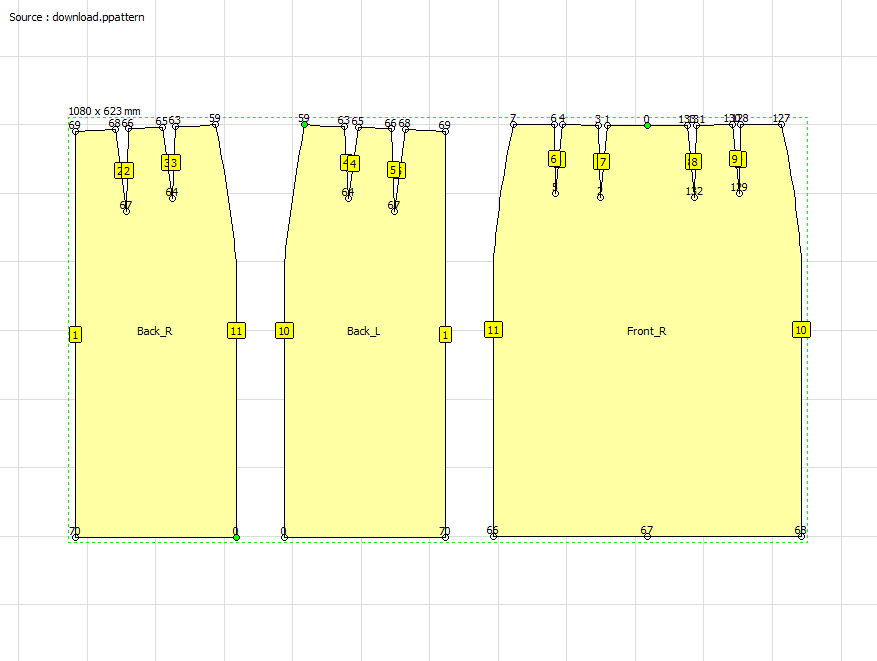
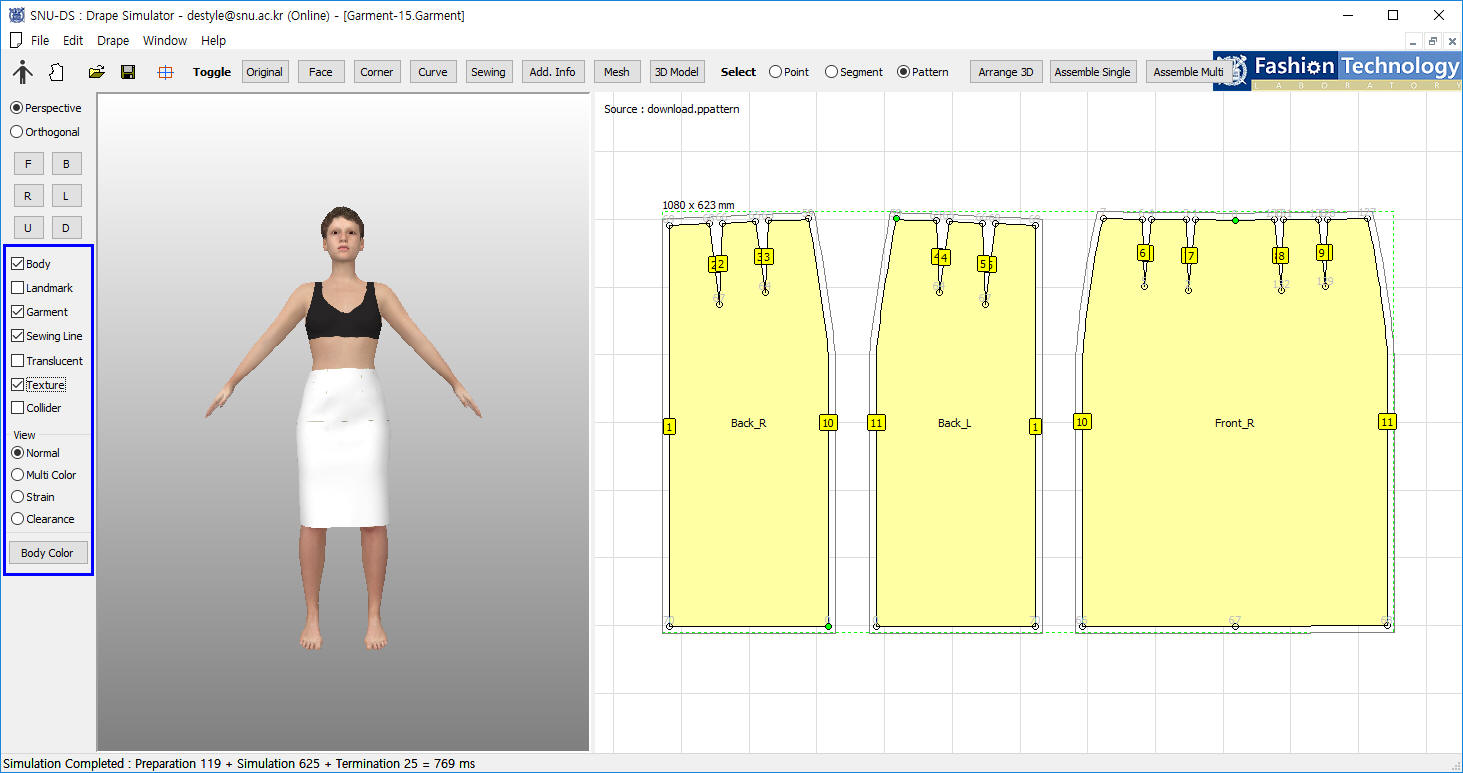
2-2 Garment Pattern View
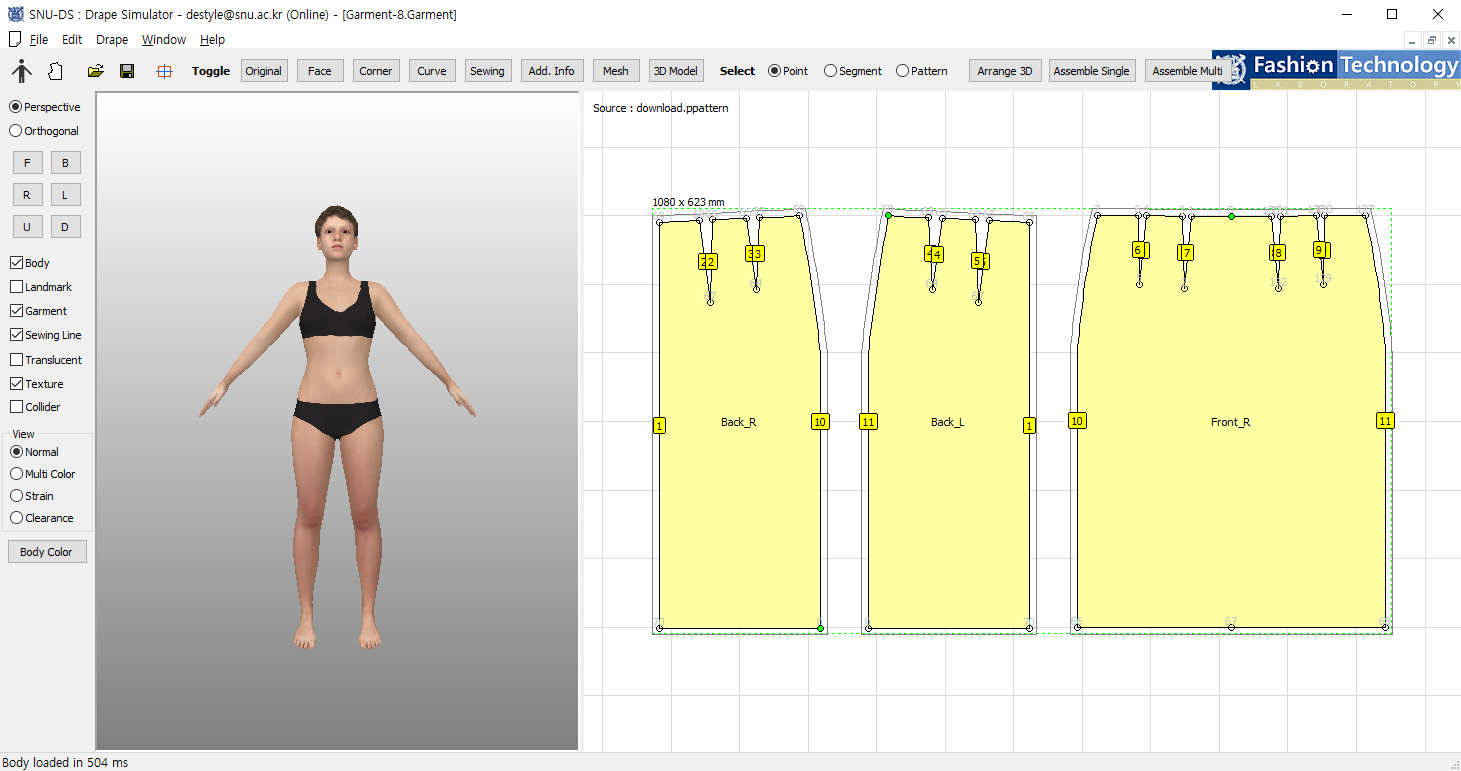
This is the view after skirt pattern has been successfully loaded.
For the garment patterns provided by the system, patterns that are successfully loaded will have faces, corner points, curves, sewing segment numbers on them.
![]()
These properties can be removed and readded on the pattern by pressing the Toggle buttons on the upper tool bar.
Original refers to seam allowance of the pattern, and the others to what is written on the button.
This is the view of the pattern when the seam allowance is removed by pressing the Original button.
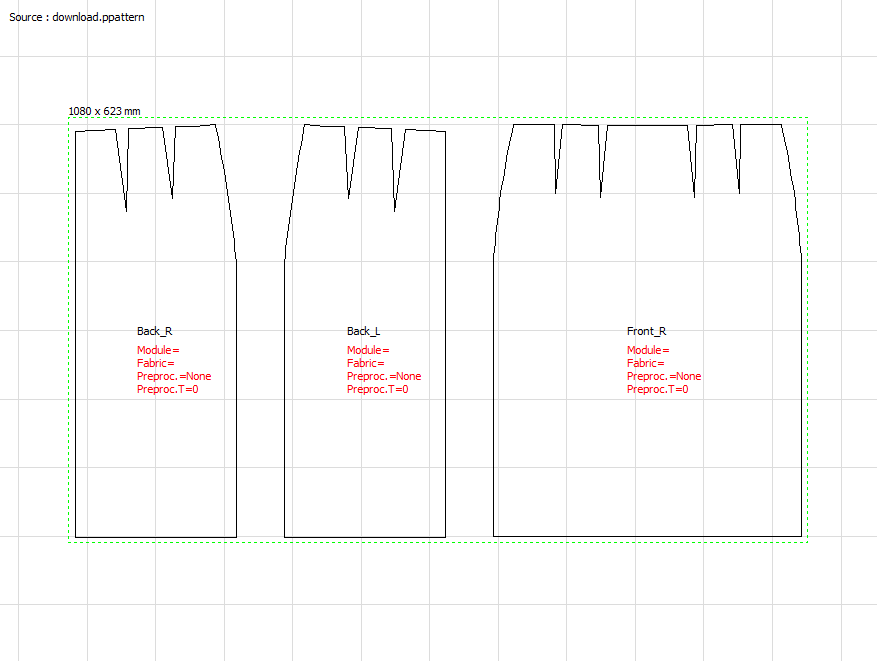
This is the view of the pattern when every button untill Add. Info are pressed once.
2-3 Selecting Pattern
![]()
Garment's points, segments, and patterns can be selected and manipulated by using the select button and mouse.
If user wants to select points, he/she should select Point radio button, press and hold ctrl and click the corner point which she/he wants to select. If he/she wants to select multiple points ctrl+shift key should be hold together while clicking the points.
By changing the select button and repeating the same processes with the segments and patterns, users can select and manipulate segments and pattterns as well.
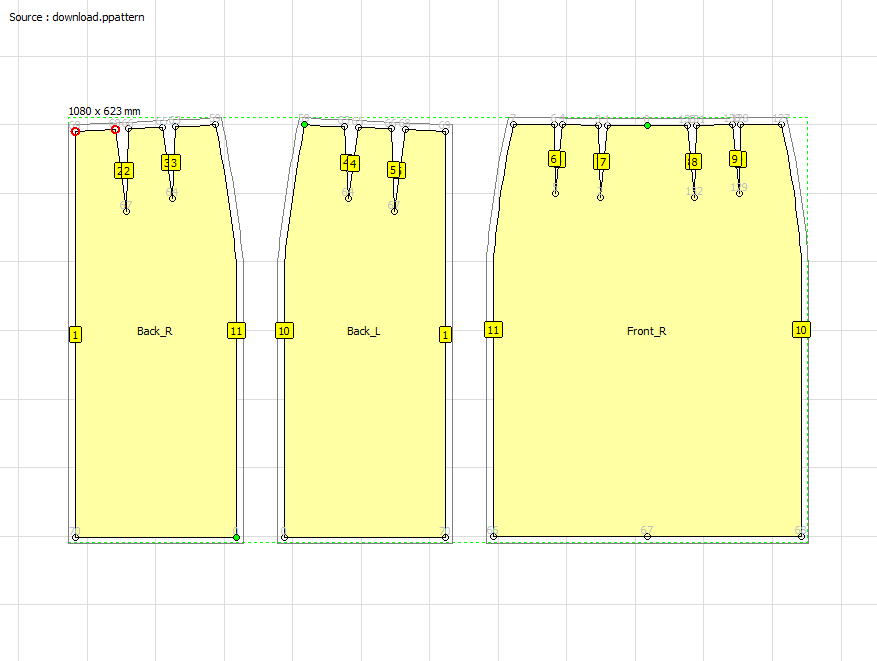
The view examplifies the case when multiple corner points are selcted using select radio button, ctrl+shift key, and mouse clicking.
2-4 Moving/Editing Pattern
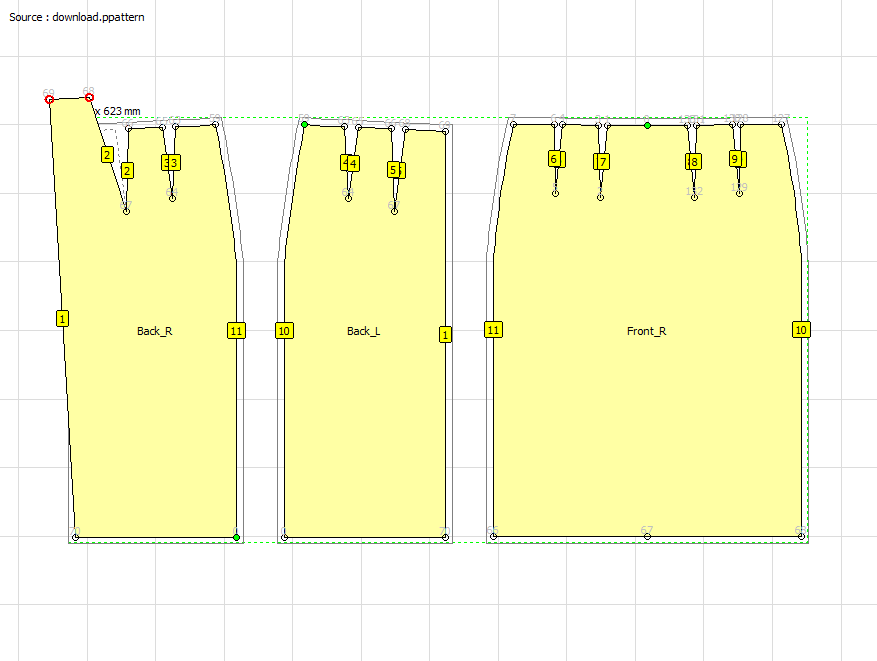
If the user drags the mouse while holding the ctrl key and left button of the mouse, he/she also can move the point to edit the pattern.(For multiple points ctrl+shift key must be held)
2-5 Resizing Pattern
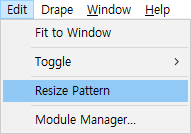
User also can resize the pattern using the Edit menu on the top.
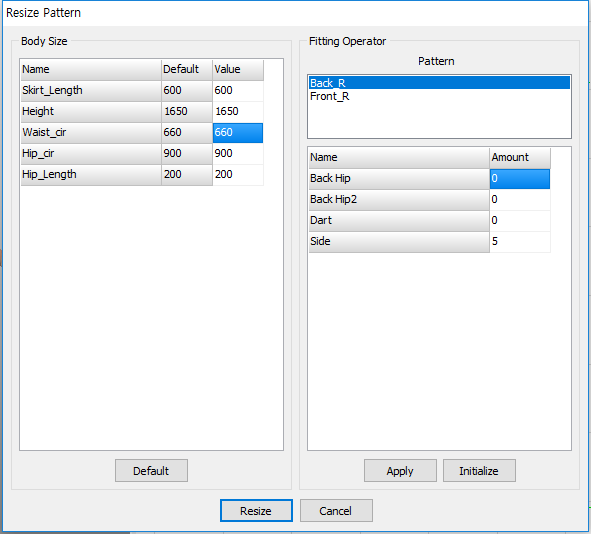
Resize Pattern Dialog comprises of 2 section: Fitting Operator section and Body Size section
Fitting Operator section shows pattern editing equations for garments (refernece *SNU-PP manual)
Body Size section allows users to parametrically change the value of the sizes of the garment.
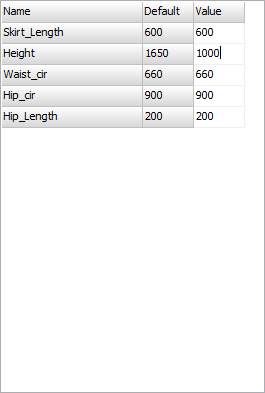
When user changes the value of the sizes of the garment and press resize button,

Resizing is applied parametically reflecting the changes previously made by editing points and segments.
2-6 Definging Folding Line
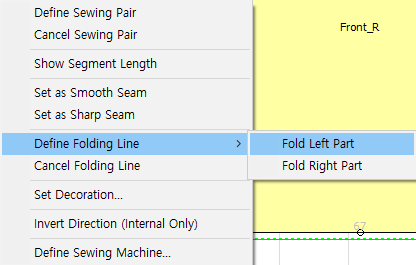
For patterns that requires folds like collars, folding lines can be defined by selcting the segment, right cliking the mouse and Define Folding Line to which ever direction that user wishs to fold the line.
3.Arranging Garment
For the example garment patterns used in the manual, all the sewing conditions such as corner points, sewing lines and positions are set in advance.
However, for the users who are using their own patterns, these conditions must be made on their own.
3-1 Define sewing pair
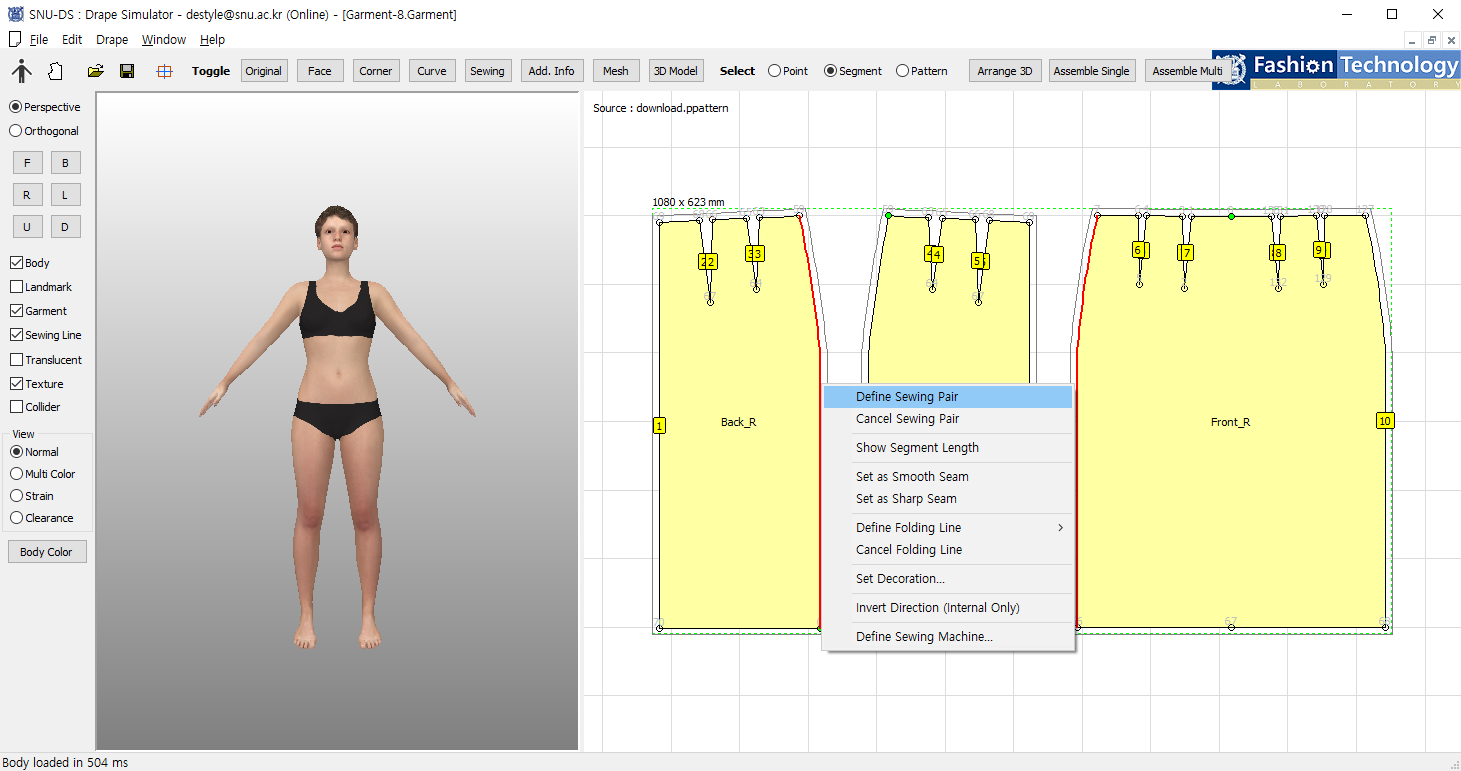
When all the sewing pairs are set, gament patterns are ready to be positioned on 3D body model.
3-2 Positioning Garment
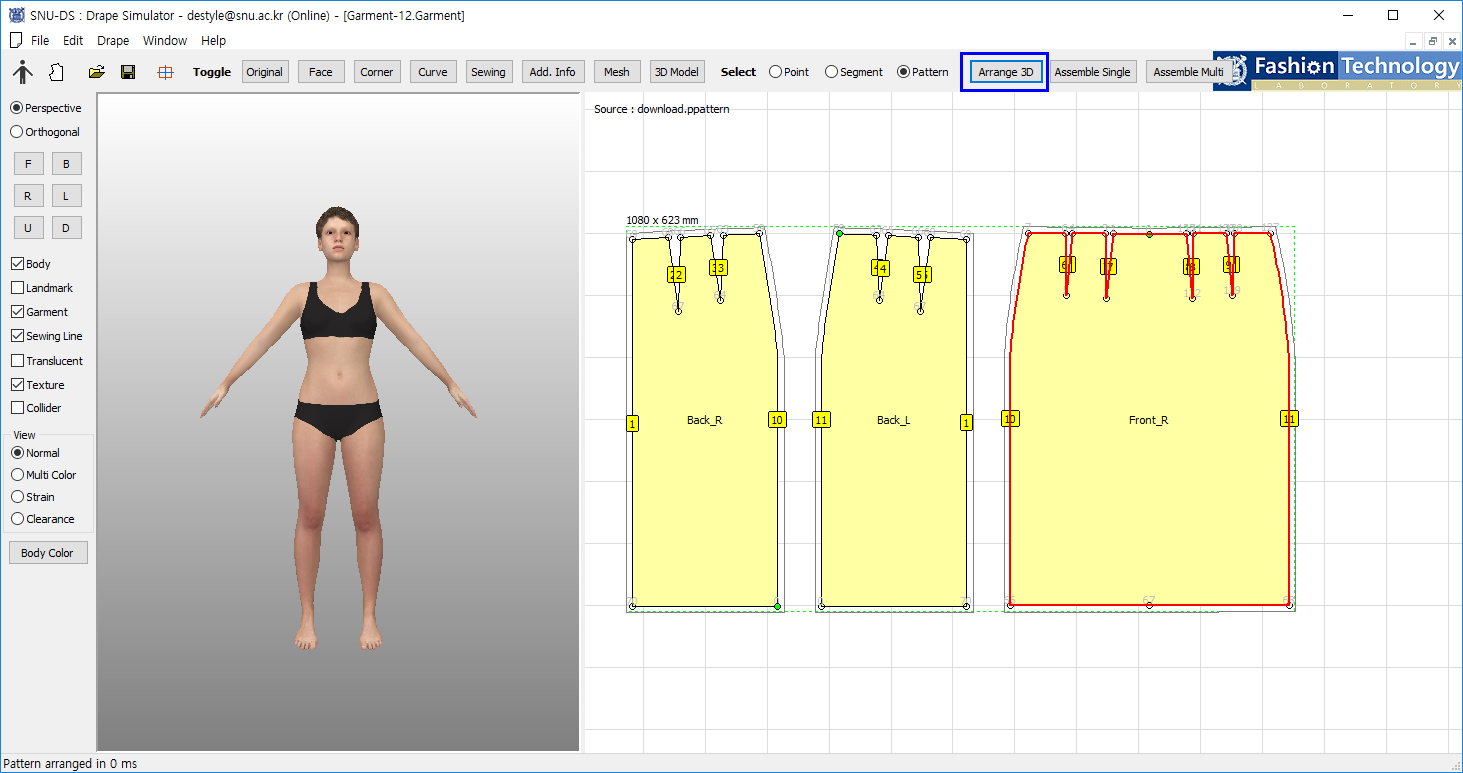
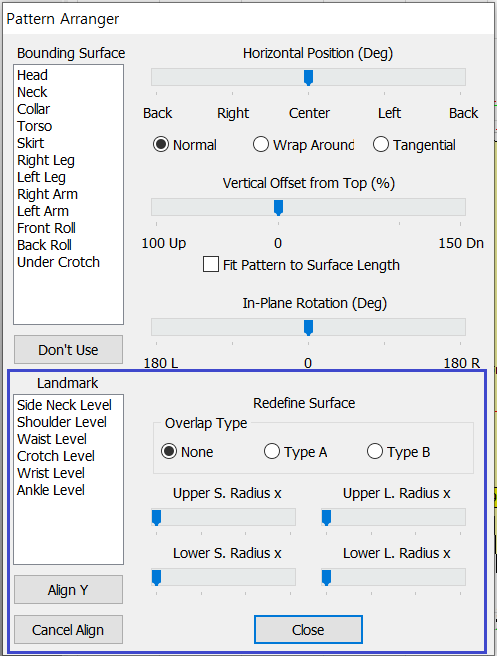
To position the pattern on the 3D model, select the pattern and press the Arrange 3D button on the top right side of the program.

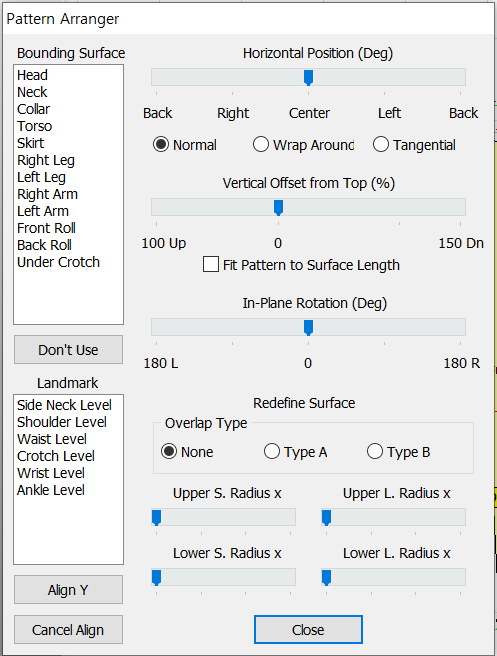
On Pattenr Arranger, select the Bounding Surface of the pattern,and user can immediately see the pattern positioned on the body. (In this example, Skirt was selected as a Bounding SUrface.)
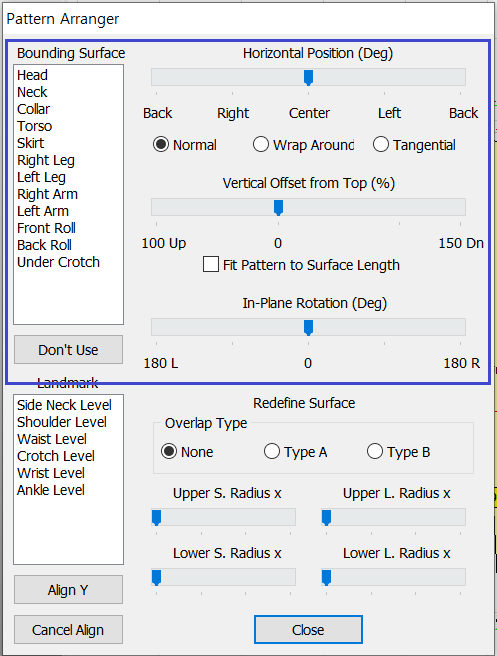
For different body types, Pattern Arranger also provides position editing function where users can horizontally or vertically move the patterns using the slider bars above.
3-3 Assemble Garment
![]()
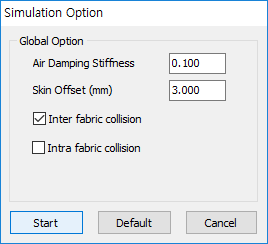
After all the patterns are postioned, press Assemble Single button.
When user press the Start button of the Simulation Option the result will be shown on the body on the left window.

When the assembling is not successful, user needs to go back to the previous steps,check the sewing conditions, resize the pattern, edit the positions and so on to make sure that the garment fits the 3D model.
4. Viewing 3D model
There are several options in viewing the 3D model with the virtual garment try-ons.
The upper squared check boxes literally shows what to express on the monitor, so for this case, body, garment, sewing line and texture is expressed in the window.
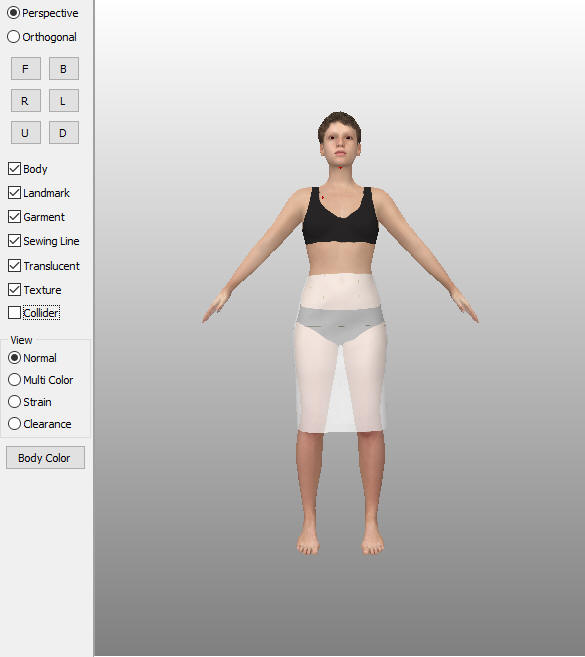
When Landmark and Translucent is checked, user can see body landmarks marked with red dots and garments turned into transluscent color.
For View radio group buttons, it graphically expresses the different conditions of the garment.
![]()
For Strain, it shows how tight the garment is to the body while for Clearanace, it shows how much ease that the garment has in relation to body.
5, Adding Texture/Wappen/Button
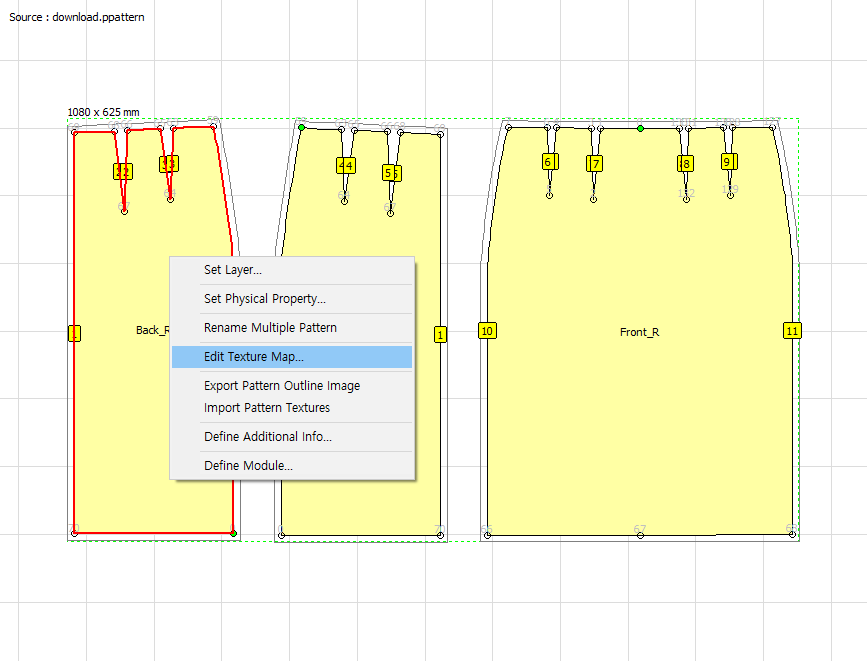
In order to Add Texture/Wappen/Button to a pattern, select the pattern, right click the mouse, and go to Edit Teture Map.
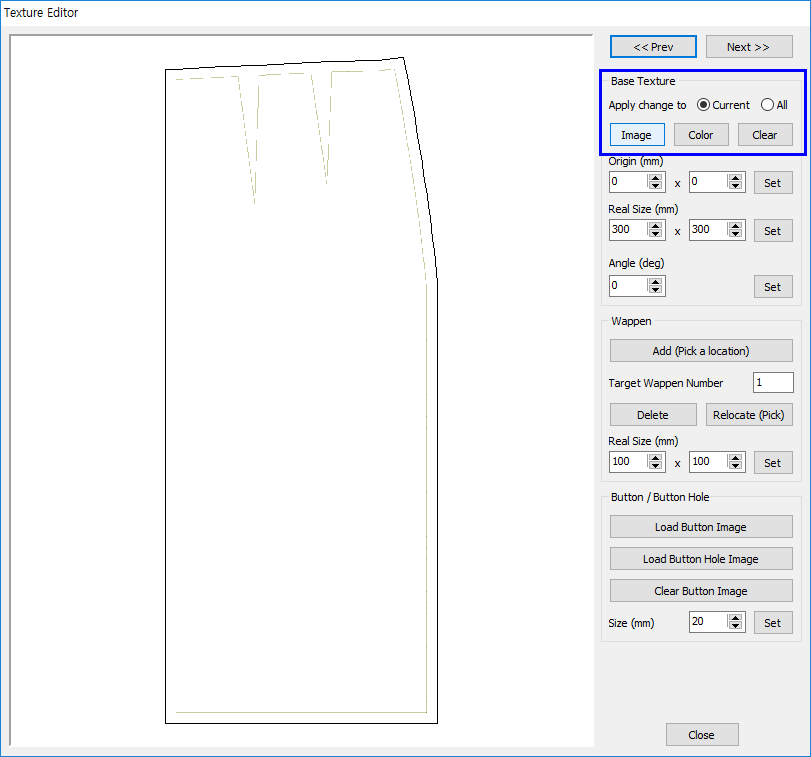
Texutre Editor pops up, and by selecting Image or Color button on the Base Texture menu, user can select either image or color to add on the selected pattern on the left.
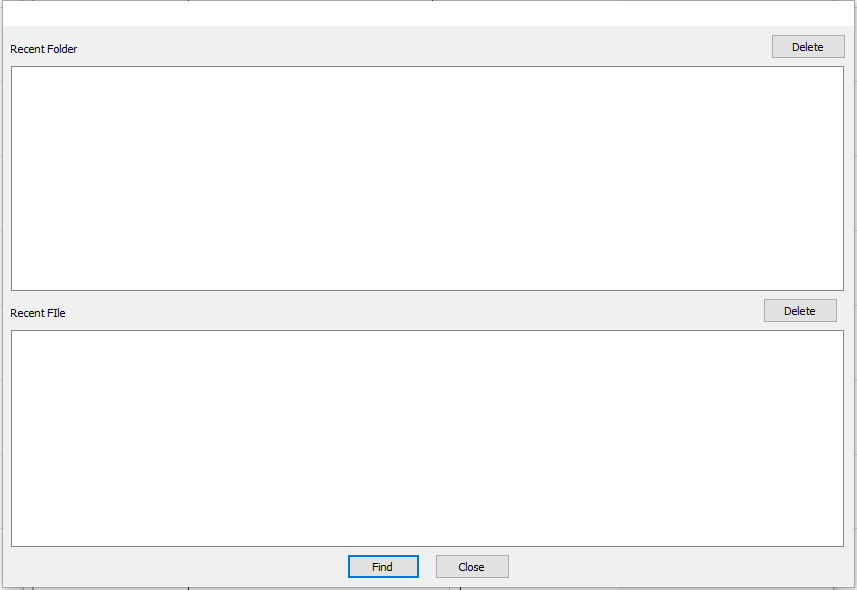
The left view is a dialog box that is provided when Image button is selected. User can select Find button to choose his/her own image file to be added to the pattern.
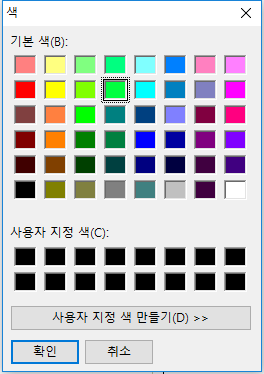
For the Color button, color picker is provided for the color selection..
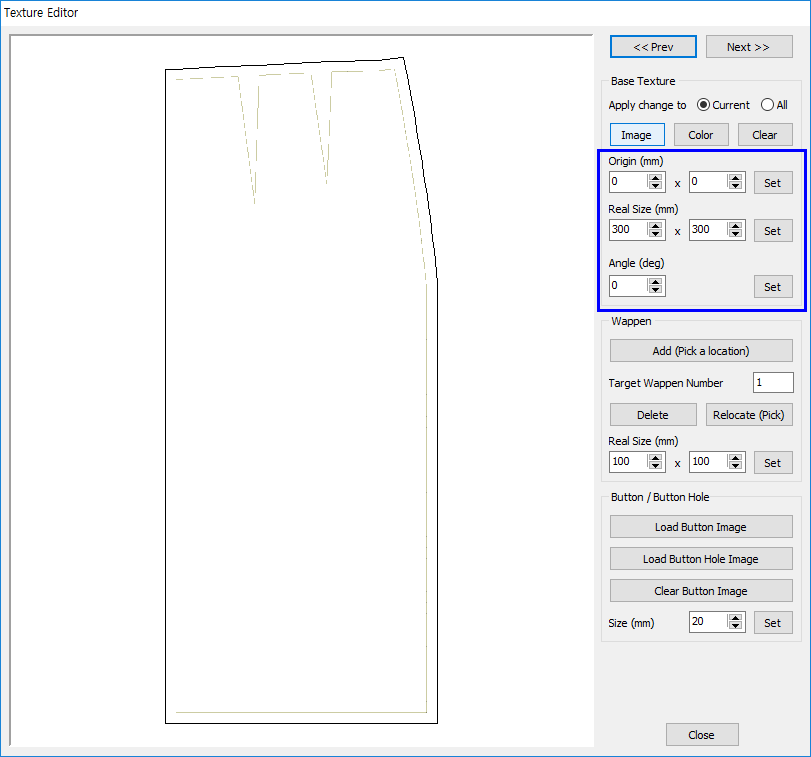
After image or color is selected, user can move the image or edit the size of the texure by setting the Orgin, Real Size or rotating the Degree of the Texture

User can simply select Add Wappen button or Load Button Image button to add and position Wappen and Button element on the selected pattern.
6, Assembling Multiple Patterns
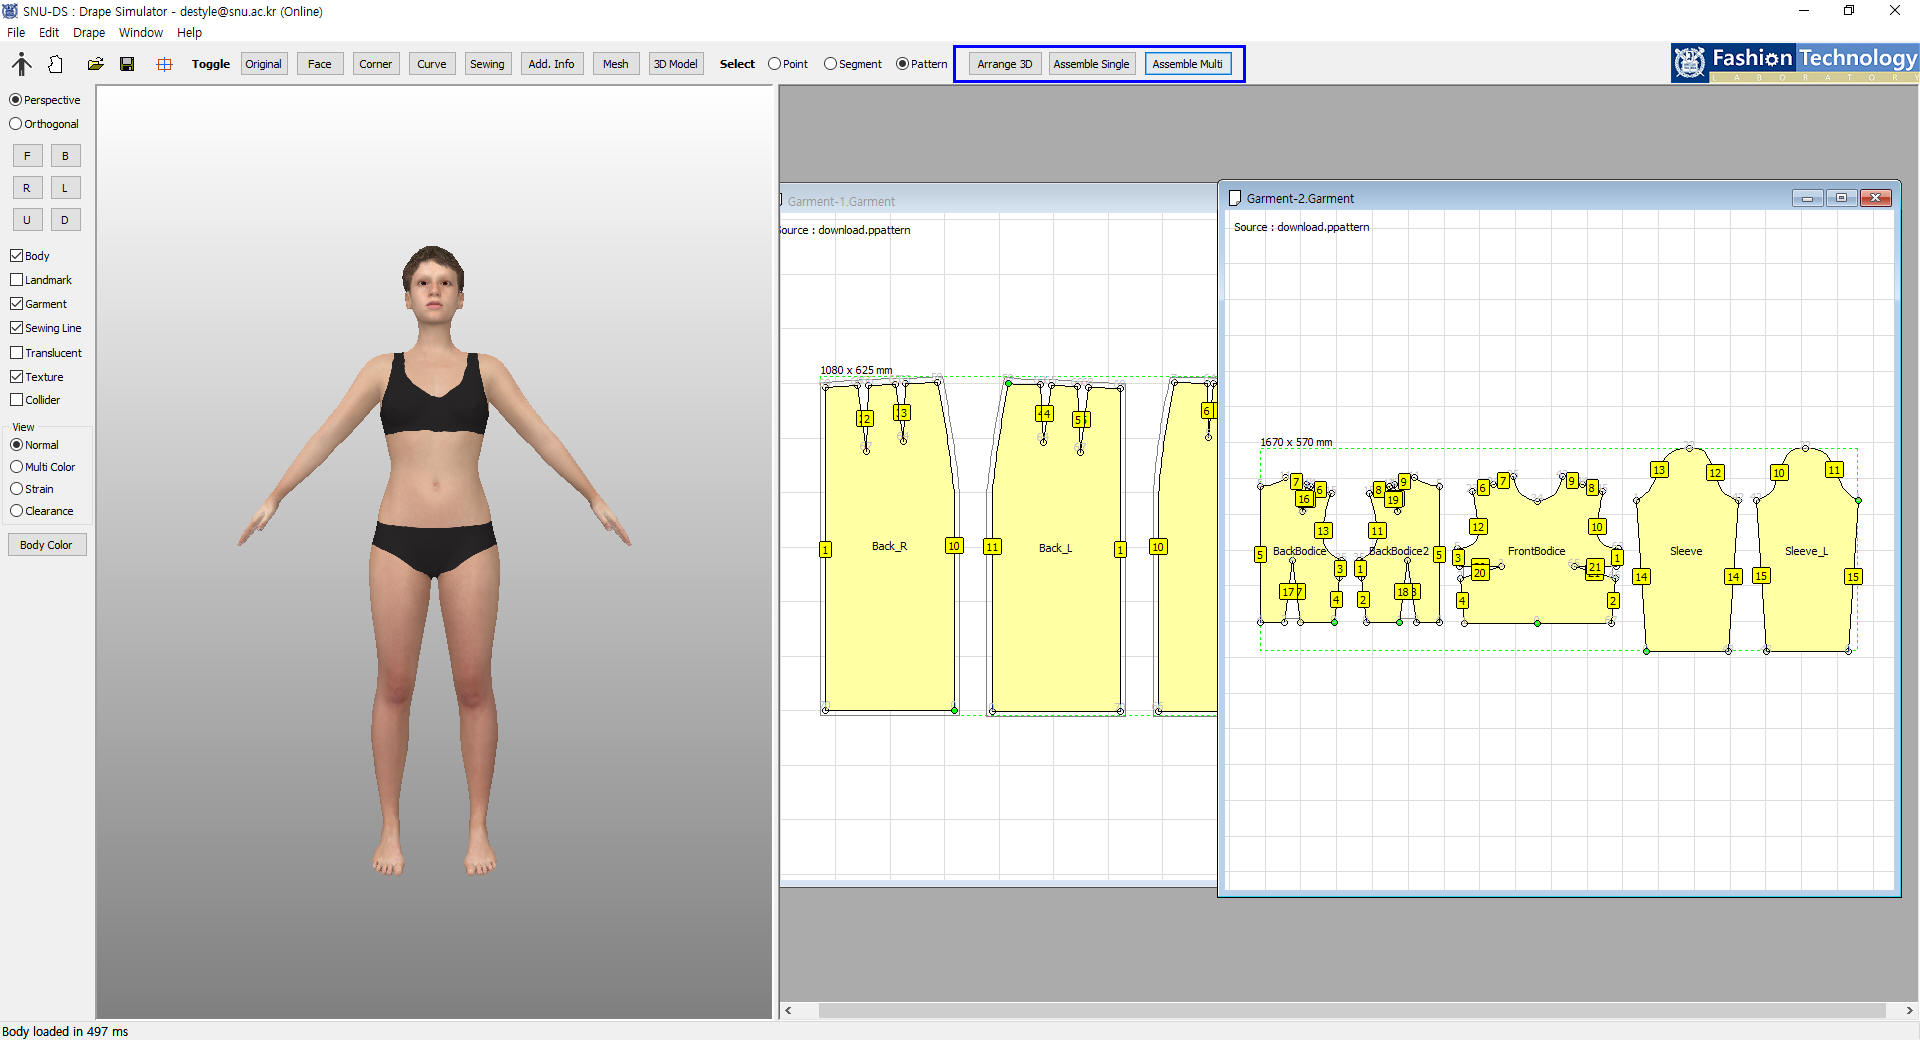
To assemble multiple patterns, minimize the window and load another garment patterns to assemble and press Assemble Multi button on the top right side of the program.(In this example, bodice with sleeves were added.)
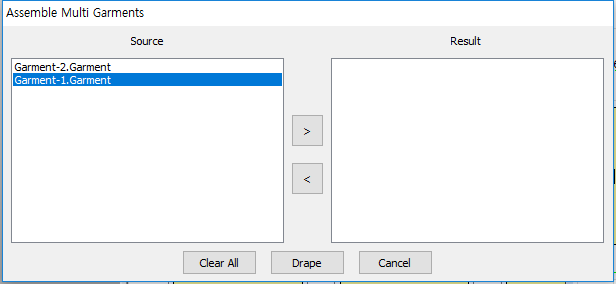
When Assemble Multi Garments dialog is provided, user will see all the patterns that he/she has loaded on the source view.
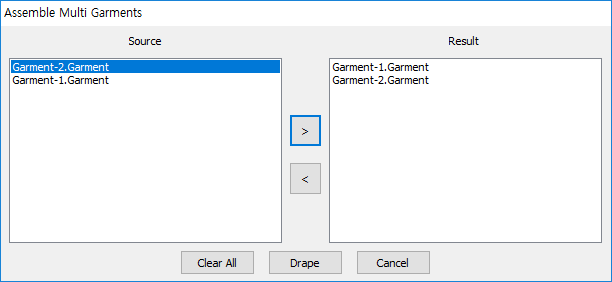
Then, user should move the pattern to the Result view in the order of how he or she wants the pattern to be assembled.
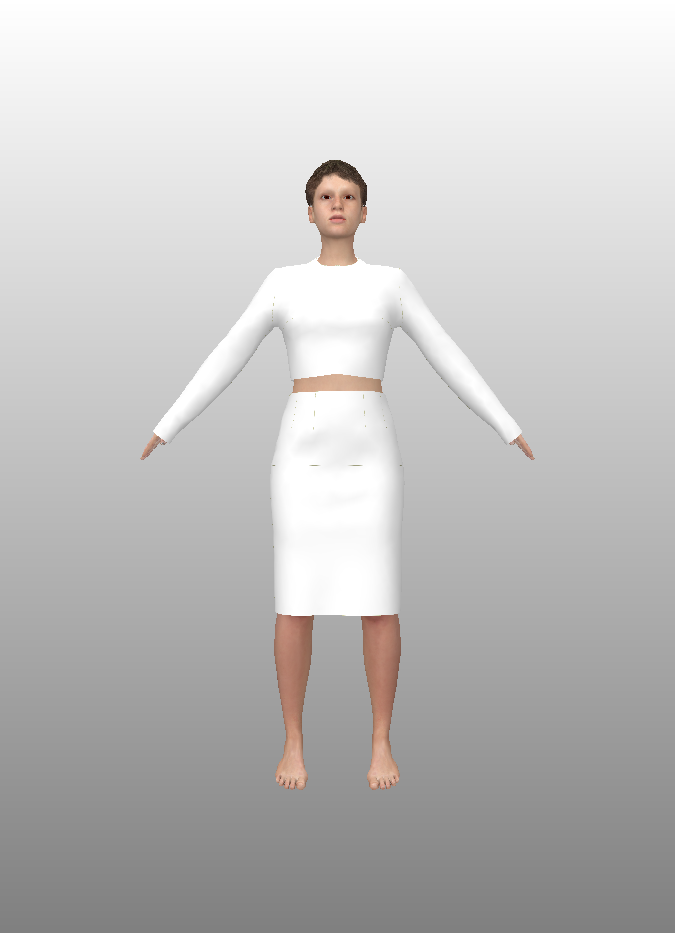
Finally when simulation option is made and start button is pressed user can see multiple patterns assembled on the body.